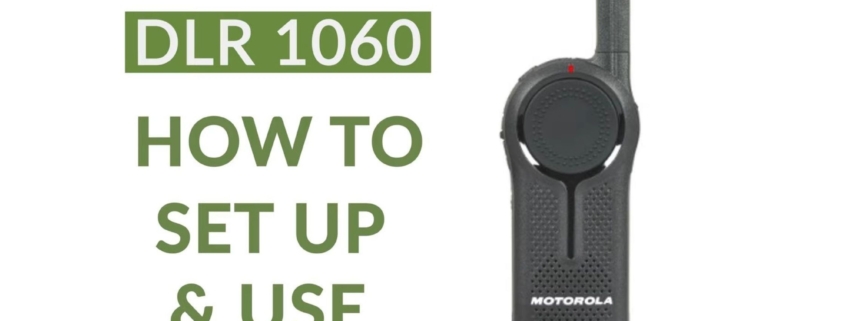
Setup and Use Motorola DLR 1060 : Simple Guide
The Motorola DLR 1060 Two way radio is compact, durable, easy to use, and simple to configure. It is a powerful business communication tool, and they are license-free, which means you can use them straight out of the box. The sleek design with a versatile black frame and powerful range make it a good choice for you. The configuration is relatively easy and we are here to walk you through it.
Motorola DLR 1060 Two Way Radio Features
There is a range of new features in the new Motorola DLR 1060 that could benefit you immensely.
- One-to-one and one-to-many communication to reduce chatter in the network.
- Crystal clear communication due to the Frequency Hopping Spread spectrum technology.
- Up to 14 hours of battery life for prolonged usage.
- Compact design with 1-year full replacement warranty.
How to Setup the Motorola DLR 1060 Two Way Radio
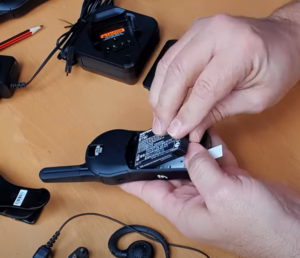
First, you need to unbox the radio and turn it around. Take the battery and push it down to the bottom. After you secure the battery, pop the battery door and lock it.
On one side, you will get an audio accessory connector. You will require this audio accessory if you don’t want internal communications to be overheard by your onsite customers.
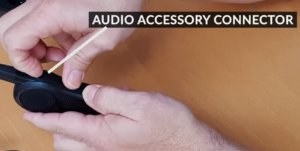
So, you have to turn your radio off and open up the accessory compartment. Plugin the accessory, and it will be connected when you hear the pop. It will be connected appropriately without any loose ends and then turn the radio on.
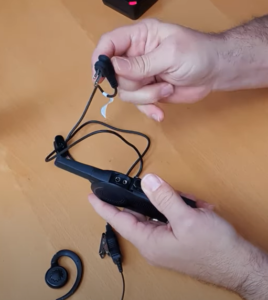
On your audio accessory, you will find a push-to-talk button, a clothing clip, and your earpiece. After you turn the radio on, listen for the three beeps before your conversation starts. The earpiece can swivel, which means you can use it either for your left or right ear. Always remember to wait for the toll permit tones to ensure that your audio accessory is firmly connected.
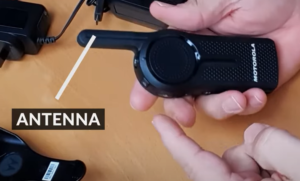
There is an antenna on top of the Motorola DLR 1060 Two way radio and a large push-to-talk button to help you if you are not using the audio accessory. You have the transmit and receive LED indicator near the controller, along with a microphone and speaker on the bottom.
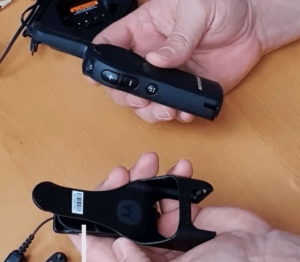
The Motorola DLR 1060 two-way radio comes with a plastic holster as an accessory. The radio goes in, and you just have to push the radio down to connect. The top pops up, and the radio is firmly placed in the holster.
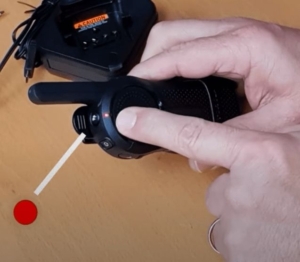
After you have secured your radio, hold the power button down till the red light indicates that it is on. The voice from the radio will let you know whether your battery level is high, low, or critical at this stage.
The channel button on the side will indicate whether all the channels are available or not. You can control the volume of the voice and your communication with the volume button. It becomes pretty self-explanatory at this stage as the radio will walk you through the rest of the process.
Charging
There are 3 ways by which you can effectively charge it.
Single-unit charger: The first way is to use the radio on its own and directly into the charger. It does a self-diagnosis with the radio in the battery.
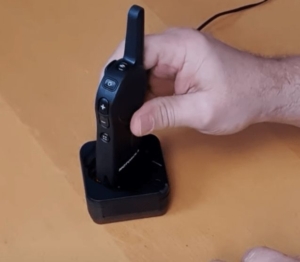
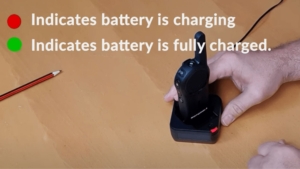
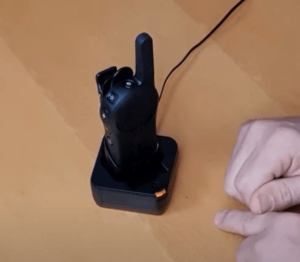
Holster: The second way to do this is to leave your holster on into the charger. The charger does a self-diagnosis and goes into the charging mode.
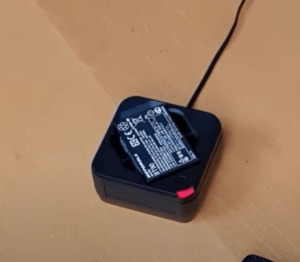
Stand-alone Battery: The third way to charge is to take the battery out of the radio. You have a gold context on the top of the battery, and you will have a context on the top of the charger. Just lay the battery in contact with the contexts, and it will start charging on its own.
How to Use the Motorola DLR 1060 Two way radio
If you are not using an audio accessory, you simply push the push-to-talk button into the microphone. Release the button to listen. Before you start speaking, the radio plays a talk permit tone and only after the three beeps you will be able to talk.
If you wish to check the battery’s charge while working, just hold the on/off button for a split second and release. The radio will tell you the status of your battery.
Watch Video Tutorial here :
Summary
It takes a little while to get used to the Motorola DLR 1060 Two way radio. The configuration, however, is simple, and it is amusing to use. This two-way radio could be a fantastic addition to your work gear.
